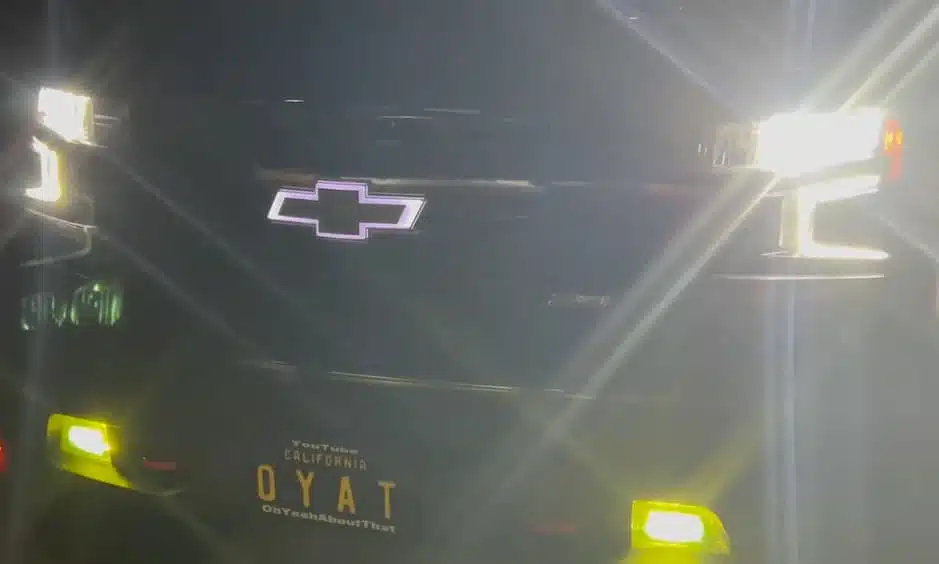
You can upgrade your truck with a Chevy Silverado LED emblem. It is a simple and eye-catching change. It can improve the look of your truck. It can also make it more visible at night. There is no doubt this upgrade is suitable for both newer and older Silverado models.
You will find that the installation is easy and does not require special skills. In this guide, you will learn how to remove the factory badge. You will also learn how to connect the LED wiring. By the end, your new emblem will be working in less than an hour.
Why Choose a Chevy Silverado LED Emblem?
Before you start the installation, you had better figure out why this upgrade is so popular:
Enhanced Appearance: It gives your truck a premium, modern look
Improved Visibility: It lights up when headlights are on
Plug-and-Play Design: Minimal wiring required
No Major Modifications: No grille removal needed
This upgrade not only looks good, but also is easy to install.
How To Install Chevy Silverado LED Emblem Step By Step?
Step 1: Remove the Original Emblem

In order to install your Chevy silverado led emblem, you should remove the factory badge at first.
Popping the Badge Off
![]()
You don’t need to remove the entire grille. Instead:
You can pry the emblem from the front carefully
You should use a plastic trim tool to avoid scratching the surface
You can apply even pressure until the badge pops free
Locate the Access Point
Once the badge is removed, you’ll notice:
A pre-existing hole behind the emblem
This opening is designed for airflow—but it doubles as a perfect wiring route
Thanks to this built-in access, the installation will be much easier than expected.
Step 2: Gaining Access and Routing the Wiring
Now you need to prepare the engine bay for wiring.
Removing the Top Panel
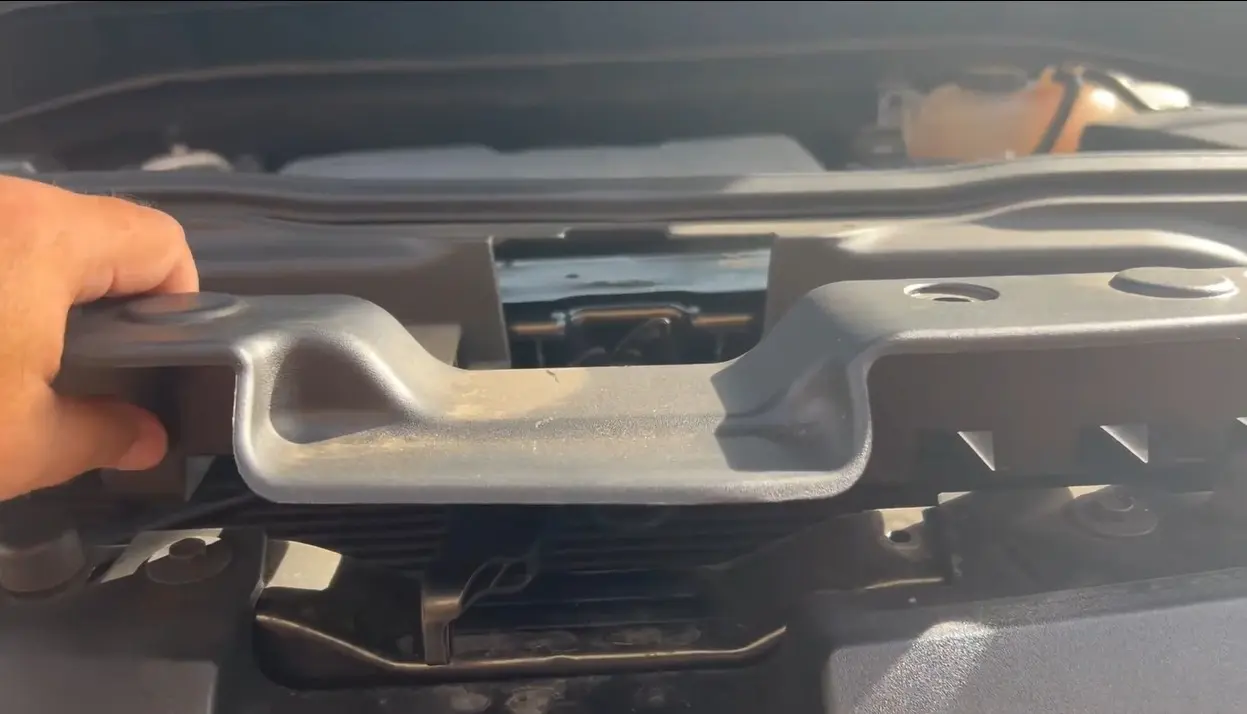
To access the wiring area:
Remove the plastic closure panel above the grille
Pull out the pop clips holding it in place
You don’t need to remove the latch handle
Carefully “snake” the panel out once clips are removed
Routing the Wire Correctly
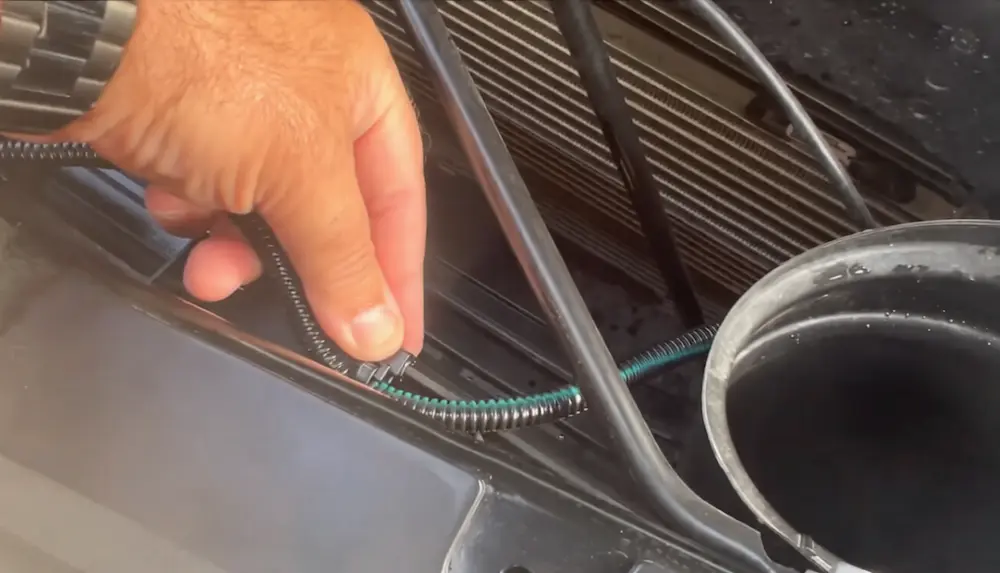
Feed the LED emblem wiring through the grille hole:
Route the harness over the active aero grille system
Avoid placing wires near moving components
Ensure a clean and safe path
Secure the Wiring
Most kits include clips for stability:
Attach clips along the plastic shroud
Keep wires tight and out of the way
Prevent vibration or wear over time
Proper routing is key to long-term reliability.
Step 3: Connecting the LED Emblem to Power
This is where the plug-and-play design is very helpful. It makes the installation quick and easy.
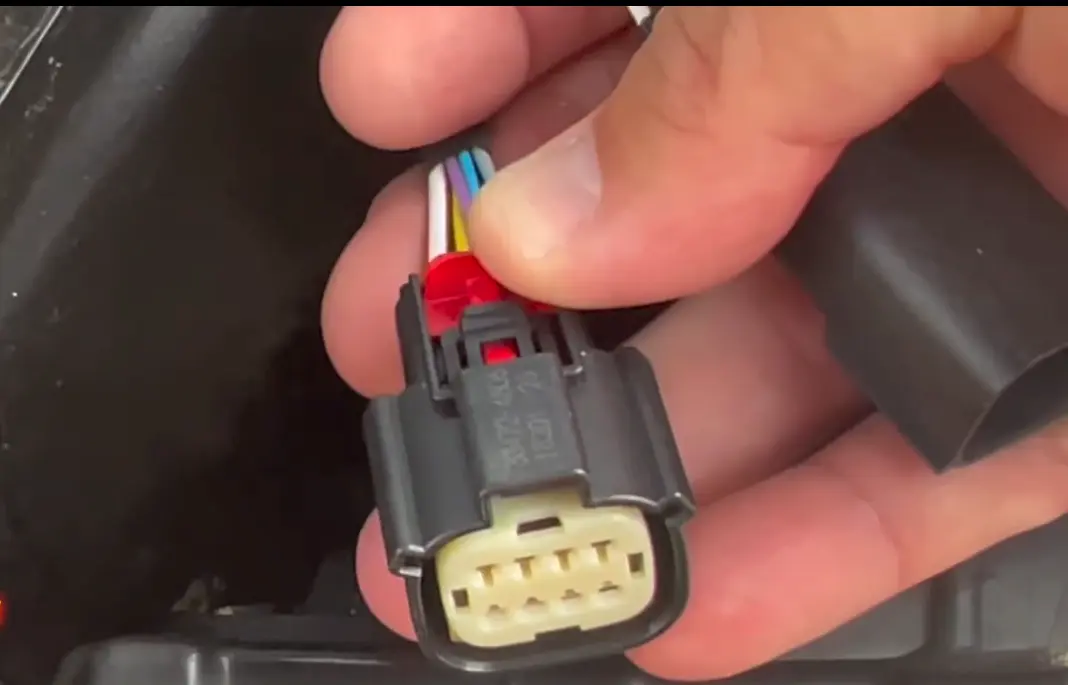
Locate the Headlight Connector
Find the main headlight wiring harness:
Look for a connector with a red locking clip
This is your power source
Disconnect the Factory Harness
To connect safely:
Pull back the red locking tab
Use a flathead screwdriver if needed
Gently separate the connector
Install the LED Harness
Now plug in your new emblem:
Connect the LED harness in-line with the headlight wiring
This creates a seamless power connection
No cutting or splicing required
You can try this method so that the emblem lights up automatically with your headlights.
Step 4: Final Assembly and Testing
You will finish it soon and just need a few finishing touches.
Mount the New LED Emblem
Align the emblem with the original mounting points
Press firmly until it clicks into place
Ensure it’s secure and evenly seated
Reinstall the Top Panel
Place the plastic panel back into position
Reinsert all pop clips
Double-check everything is snug
Test the Operation
Turn on your headlights:
The LED emblem should illuminate instantly
If it doesn’t illuminate, recheck the connector
Once the emblem works, you finish your job!
Tips for a Smooth Installation
If you want to install chevy silverado led emblem successfully, you should keep these tips in mind:
✅ Work during the day or in a well-lit garage
✅ Use trim tools instead of metal tools
✅ Double-check wire routing before securing
✅ Avoid forcing connectors
You should spend a few extra minutes to ensure a clean, professional finish.
Conclusion
Installing an LED emblem on your Chevy Silverado is a fast and simple upgrade. It gives your truck a fresh and bold look. You do not need to remove the grille. The wiring is easy and works with a plug-and-play setup.
You should take off the old badge at first. Then you should connect the wires to the power source. You can snap the new emblem into place at last. You will find it quick and easy to finish installation. When you finish, your Silverado will stand out with a bright and clean illuminated look.
FAQs
1. Do I need to remove the grille to install the LED emblem?
No, you do not. You can install the emblem from the front.
2. Does the LED emblem stay on all the time?
No, it only lights up when you turn on the headlights.
3. Is wiring complicated?
No, it is simple. It uses a plug-and-play system.
4. Will this affect my truck’s electrical system?
No, it will not affect. It connects the headlight assembly directly.
5. Can I install it myself?
Yes, you can. You need less than one hour to complete installation with basic tools.
6. Is the LED emblem weather-resistant?
Yes, the emblem can prevent rain, dust, and heat.