Replacing the emblem on your Lexus may seem like a minor task, but it can significantly refresh your car’s appearance. Whether your emblem has faded or become damaged, learning how to replace Lexus emblem is a relatively straightforward process. The key benefit is that you can save the cost of paying a mechanic at an auto repair shop.
The Lexus emblem symbolizes luxury. Keeping it in top condition helps enhance your vehicle’s value and visual appeal—especially when you’re ready to sell it.
Why You Might Need to Replace a Lexus Emblem
Common Reasons
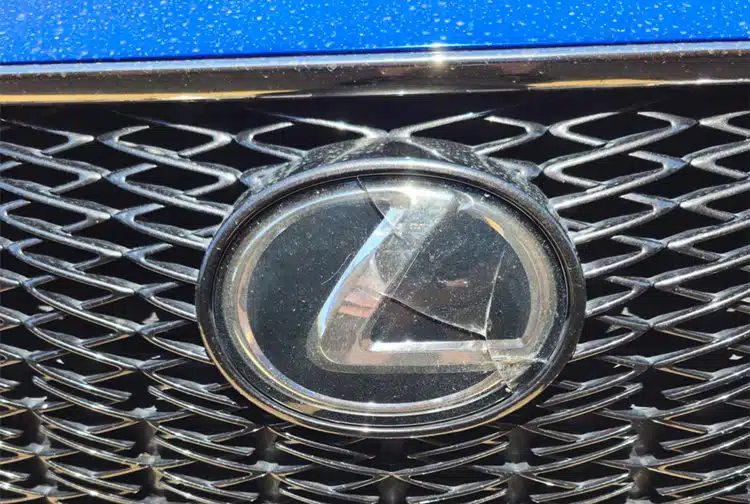
- Fading due to sun exposure
- Damage from minor accidents
- Theft or missing badge
- Customization or upgrades
Benefits of Replacement
- Enhances curb appeal
- Maintains resale value
- Gives your car a refreshed look
- Allows personalization
Tools Required to Replace Lexus Emblem
Essential Tools Checklist
- Hair dryer or heat gun
- Plastic trim removal tool
- Dental floss or fishing line
- Adhesive remover
- Microfiber cloth
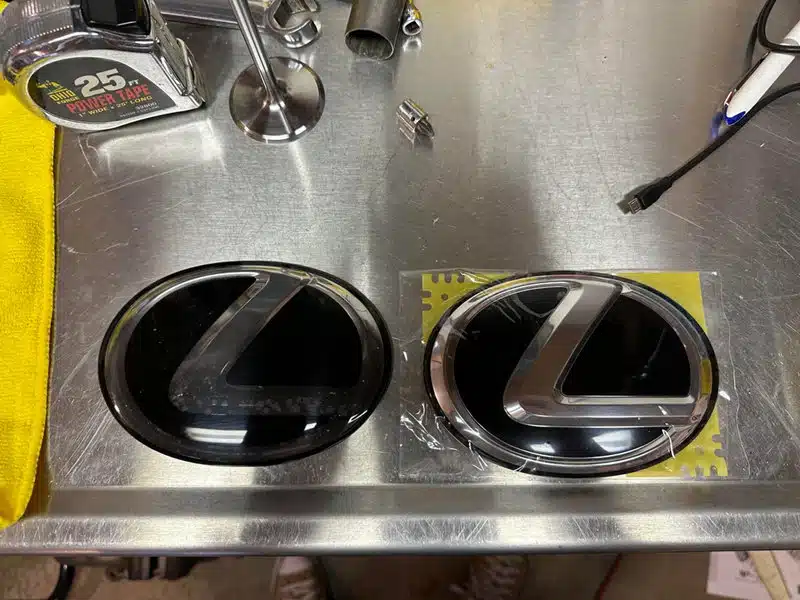
Types of Lexus Emblems
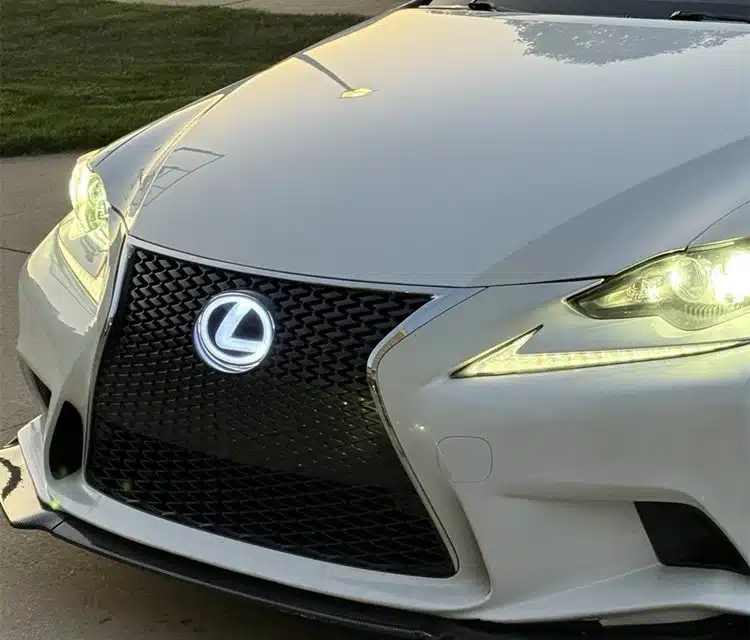
Front Grille Emblem

Usually mounted with clips or screws and may include sensors behind it.
Rear Trunk Emblem
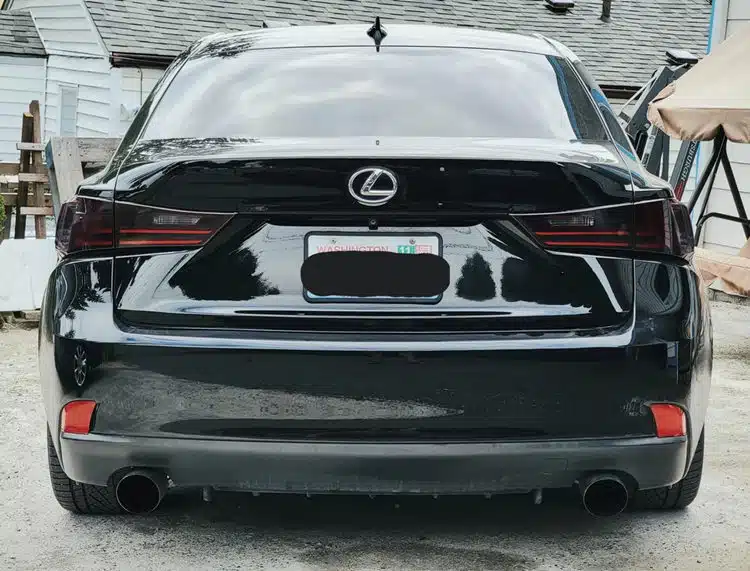
Typically attached with adhesive, making it easier to remove.
Step-by-Step Guide: How to Replace Lexus Emblem
Step 1: Clean the Area
Start by washing the area around the emblem. Dirt and debris can scratch your car during removal.
Step 2: Heat the Adhesive
Use a hair dryer or heat gun to soften the adhesive behind the emblem. This makes removal much easier.
Step 3: Remove the Old Emblem
Slide dental floss or fishing line behind the Lexus emblem and gently pull. Avoid using metal tools that can damage the paint.
Step 4: Remove Residue
After removing the emblem, clean leftover adhesive using an automotive adhesive remover and a microfiber cloth.
Step 5: Align the New Emblem
Use masking tape as a guide to ensure perfect alignment before sticking the new emblem.
Step 6: Apply Adhesive
Most replacement emblems come with pre-applied adhesive. If not, apply a thin, even layer.
Step 7: Secure and Finish
Press firmly for about 30 seconds. Let it set for a few hours before washing the car.
Common Mistakes to Avoid
- Using sharp tools that scratch paint
- Skipping surface cleaning
- Misaligning the emblem
- Applying too much adhesive
- Rushing the curing process
Tips for a Professional Finish
- Work in a warm environment
- Measure placement carefully
- Use emblems with warranty as our store.
- Avoid washing your car for 24 hours after installation
FAQs About Lexus Emblem Replacement
1. Can I replace a Lexus emblem by myself?
Yes! You can use your own tool to replace it easily.
2. Will removing the emblem damage paint?
Not but it’s better to use the plastic tools .
3. How long does it take?
Typically 20–40 minutes for most emblems.
4. Should I use the glue during the process?
No need for it, it will damage paint.
5. Are aftermarket emblems trusty?
Yes, You can order our light up lexus emblem to replace and has 2 years warranty.
6. Do I need special adhesive?
Automotive-grade adhesive is recommended for best results.
Conclusion
Learning how to replace Lexus emblem is a professional, high-quality DIY project that effectively enhances your vehicle’s appearance and adds a touch of sophistication. With the right tools and careful, meticulous work, you can achieve a professional-grade installation at home that rivals factory-installed results.
Whether you’re giving your car a refined makeover or performing a high-end customization, this guide will ensure a precise installation and flawless finish every time, thanks to its professional procedures and attention to detail.